wifi panorama camera manual
WiFi panorama cameras offer remote monitoring and control via a mobile app, utilizing cloud storage for recorded footage.
Account registration and QR code scanning are key steps for initial setup and access.
These cameras connect to your WiFi network, enabling convenient, real-time viewing and management of your home or business.
What is a WiFi Panorama Camera?
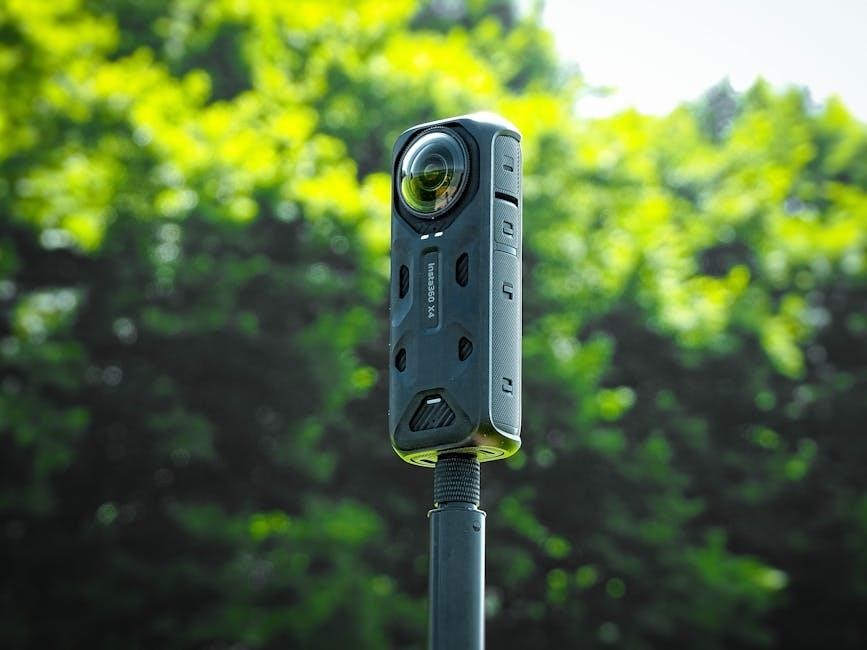
A WiFi panorama camera is a sophisticated security and monitoring device designed to capture a wide field of view, often 360 degrees, and transmit that footage wirelessly over your home or office’s WiFi network. Unlike traditional cameras with fixed perspectives, these cameras provide a comprehensive visual overview of the surrounding environment.
These cameras are controlled remotely through a dedicated mobile application, allowing users to access live feeds, recorded videos, and adjust settings from anywhere with an internet connection. The process of connecting the camera to your network typically involves downloading the app, creating an account, and scanning a QR code located on the camera itself.
Once connected, the camera registers with the cloud service, enabling remote access and storage of captured footage. This setup, as detailed in available manuals, generally takes between one to two minutes to complete, offering a seamless integration into your smart home ecosystem.
Key Features and Benefits
WiFi panorama cameras boast several key features enhancing security and convenience. Remote access via a mobile app allows live viewing and control from anywhere. Cloud storage provides secure, off-site backup of recorded footage, accessible through registered accounts. The QR code scanning simplifies the initial setup process, streamlining device connection to your WiFi network.
Benefits include a wider field of view compared to standard cameras, reducing blind spots. Motion detection capabilities trigger alerts, notifying users of potential activity; These cameras offer a cost-effective security solution, eliminating the need for professional installation.
Furthermore, the user-friendly mobile app interface facilitates easy playback and management of recordings, providing peace of mind and enhanced situational awareness.
Unboxing and Initial Setup
Initial setup involves verifying package contents and familiarizing yourself with the camera’s ports and buttons before connecting to WiFi.
Carefully unpack all components and prepare for the configuration process.
Package Contents
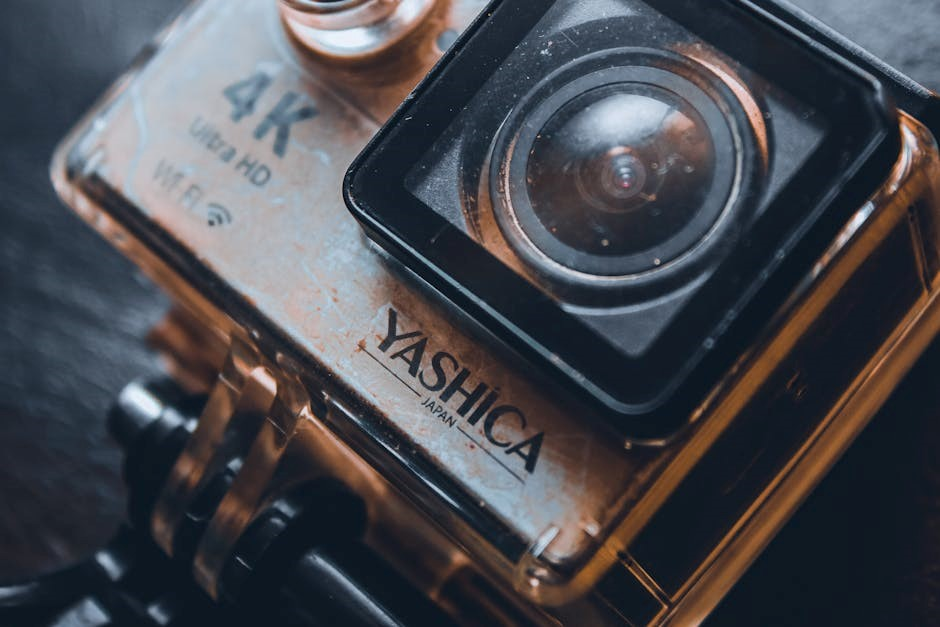
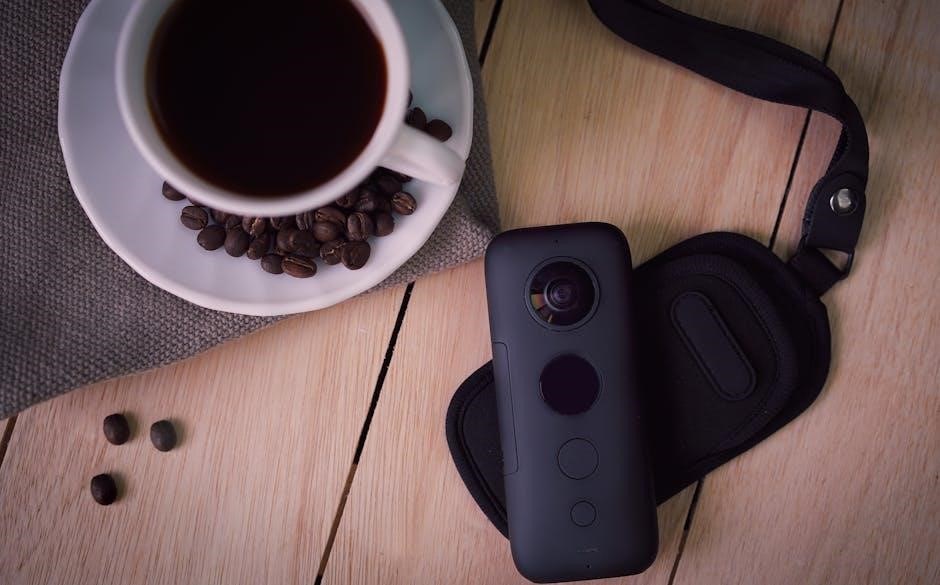
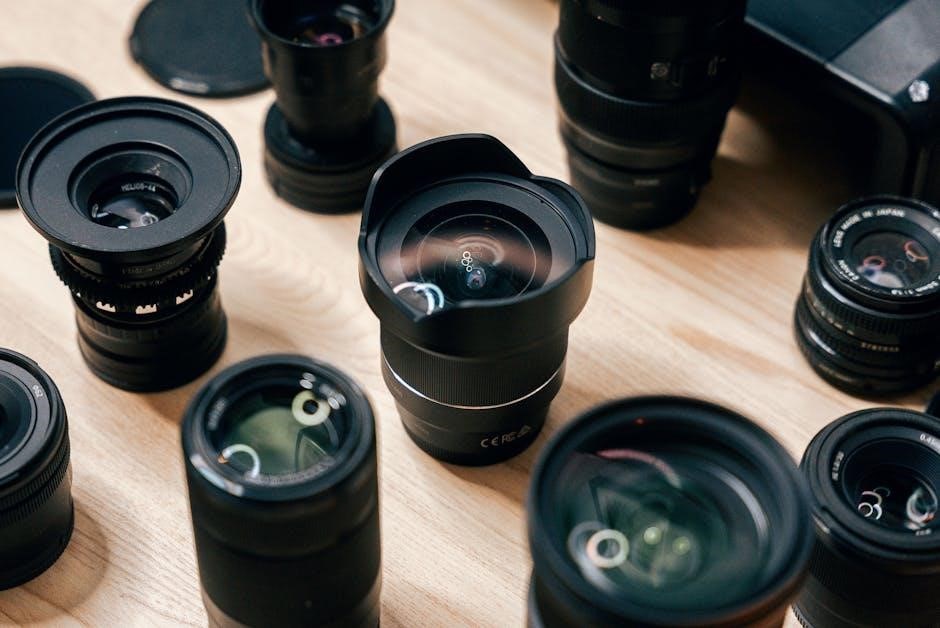
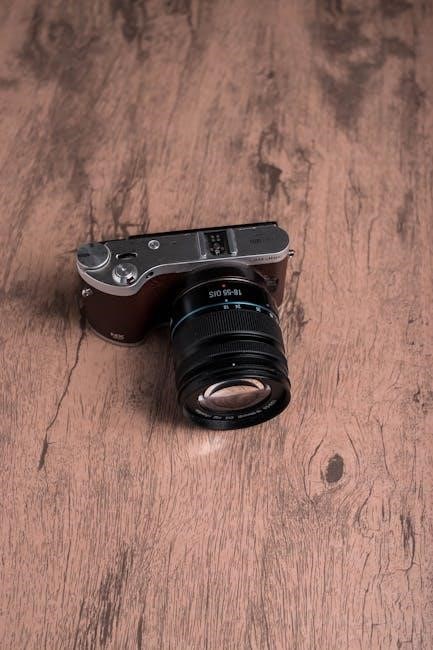
Upon opening the box, you should find several essential components to get your WiFi panorama camera up and running. Typically, the package includes the camera unit itself, designed for versatile placement and wide-angle viewing.
A power adapter with a suitable cable is provided to ensure a consistent power supply. A quick start guide offers initial setup instructions, while a mounting bracket and screws facilitate secure installation on walls or ceilings.
Crucially, you’ll also locate a QR code sticker – vital for connecting the camera to your mobile app. Some packages may include additional accessories like a reset pin for troubleshooting or cable clips for tidy cable management.
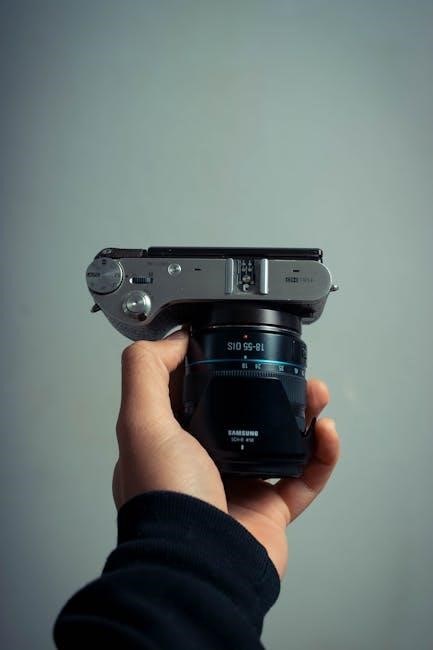
Camera Overview: Ports and Buttons
Examining the camera’s physical features reveals several key ports and buttons essential for operation. A DC power port accepts the provided adapter for continuous power. You’ll find a MicroSD card slot, allowing for local storage of recorded footage as an alternative to cloud options.
A reset button, often recessed for safety, enables restoring the camera to factory settings if needed. Some models include a USB port for potential firmware updates or direct connection.
An indicator LED displays the camera’s status – typically showing power, WiFi connection, and recording activity. Understanding these components is crucial for successful setup and troubleshooting.
Connecting to Your WiFi Network
Establishing a WiFi connection is vital for remote access. Download the mobile app, register an account, and scan the camera’s QR code for setup.
Downloading the Mobile App
The first step in connecting your WiFi Panorama Camera is downloading the dedicated mobile application. This app serves as your primary interface for controlling the camera, viewing live feeds, managing recordings, and adjusting settings.
You can typically find the app by searching for the camera’s brand name or model number in your device’s app store (Google Play Store for Android or Apple App Store for iOS).
Ensure you download the official app to avoid potential security risks or compatibility issues. Once downloaded, locate the app icon on your home screen and tap it to begin the installation process. The app will request certain permissions, such as access to your camera and local network – grant these permissions to ensure full functionality.
Account Registration and Login
After installing the mobile app, you’ll need to create an account to utilize the camera’s features. Launch the app and look for a “Register” or “Sign Up” option. You will be prompted to enter a valid email address and create a secure password.
Choose a strong password that includes a combination of letters, numbers, and symbols for enhanced security. Some apps may also require a username.
Carefully review and agree to the terms of service and privacy policy before proceeding. Once registered, you can log in using your newly created credentials. A successful login grants you access to the camera’s control panel and settings.
Scanning the Camera’s QR Code
To connect your WiFi panorama camera to the mobile app, you’ll need to scan its unique QR code. This code acts as a digital key, quickly pairing the camera with your account. Locate the QR code, typically found on the camera itself or in the accompanying documentation.
Open the mobile app and navigate to the “Add Device” or similar section. Select the option to scan a QR code. Position your smartphone’s camera over the QR code, ensuring it’s clearly visible within the app’s scanning frame.
The app will automatically detect and register the camera, initiating the WiFi connection process.
WiFi Connection Process (1-2 Minutes)
Once the QR code is scanned, the camera will begin connecting to your selected WiFi network. This process typically takes between one to two minutes, during which the camera establishes a secure link with your router.
The mobile app will display a progress bar or status indicator, showing the connection’s advancement. Ensure your smartphone remains close to both the camera and your WiFi router during this phase for optimal signal strength.
Upon successful connection, the app will confirm registration and indicate that the camera is now accessible remotely. You are now ready to configure settings and begin using your WiFi panorama camera!
Camera Settings and Configuration
Customize your camera by adjusting video resolution, enabling motion detection, and setting up cloud storage for recordings.
These configurations enhance security and tailor the camera to your specific monitoring needs.
Adjusting Video Resolution and Quality
Optimizing video settings is crucial for clear footage and efficient storage. Within the mobile app, navigate to the camera’s settings menu and locate the “Video Quality” or “Resolution” options.
Typically, you’ll find choices ranging from lower resolutions like 360p or 480p, suitable for conserving bandwidth and storage space, to higher resolutions like 720p, 1080p (Full HD), or even 2K/4K for detailed clarity.
Higher resolutions capture more detail but require more storage and a stronger WiFi connection. Experiment with different settings to find a balance between image quality and performance. Consider your internet upload speed when selecting a higher resolution to avoid buffering or lag during live viewing.
Also, explore options like bitrate control, which affects the amount of data used per second of video – higher bitrate means better quality but larger file sizes.
Motion Detection Settings
Configuring motion detection allows the camera to alert you to activity. Access these settings through the mobile app, usually under “Detection” or “Alerts.” You can adjust the sensitivity – higher sensitivity detects even minor movements, while lower sensitivity reduces false alarms.
Define detection zones to focus monitoring on specific areas, ignoring others (like a busy street). Scheduling options let you activate motion detection only during certain times, like when you’re away.
Customize alert types: push notifications to your phone, email alerts, or even recording triggered by motion. Experiment with settings to minimize false positives from pets, shadows, or weather. Regularly review recorded events to fine-tune the sensitivity and zones for optimal performance.
Setting Up Cloud Storage
Cloud storage provides a secure backup for your recorded footage. Within the mobile app, navigate to “Storage” or “Cloud” settings. You’ll likely need to register an account with the camera manufacturer’s cloud service, or a compatible third-party provider.
Choose a subscription plan based on your storage needs – options typically range from free (limited storage) to premium (extended storage and features). Follow the on-screen prompts to link your camera to your cloud account.
Ensure the camera is connected to WiFi for seamless uploading. You can often select specific events (like motion-triggered recordings) to be automatically saved to the cloud. Regularly check your cloud storage usage to avoid exceeding your plan’s limits.
Using the Mobile App
The mobile app enables live viewing, remote control, and footage management. Access recorded events and adjust camera settings easily from your smartphone.
Share captured footage and receive instant alerts directly on your mobile device for enhanced security.
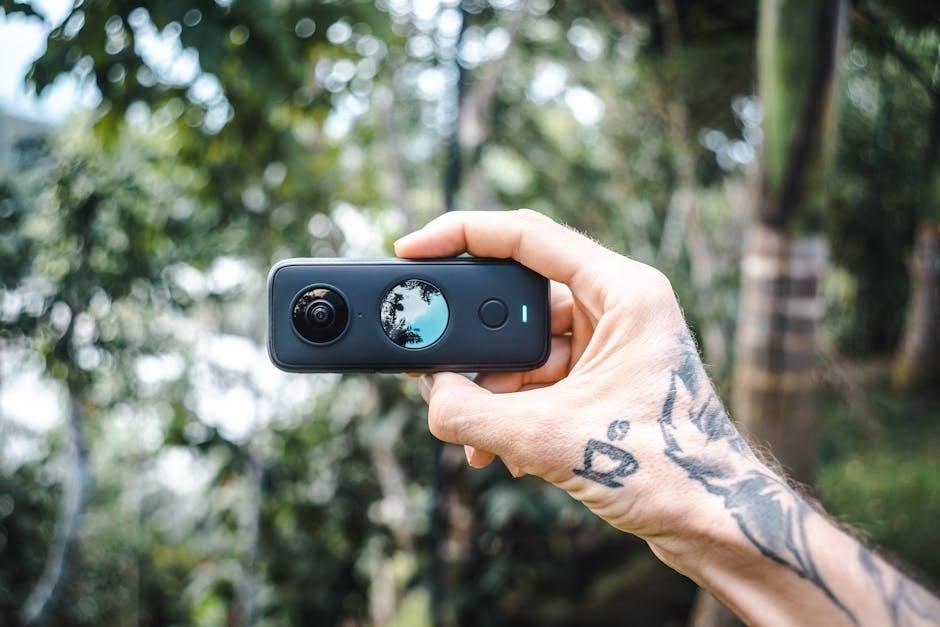
Live View and Remote Control
Accessing the live view through the mobile app provides a real-time stream of your camera’s footage directly to your smartphone or tablet. This allows for immediate monitoring of your property, offering peace of mind whether you’re at home or away.
Remote control functionality extends beyond simply viewing the live feed. You can often pan and tilt the camera (if equipped with these features) directly from the app, allowing you to adjust the viewing angle to cover a wider area. This is incredibly useful for monitoring large spaces or tracking movement.
Furthermore, the app typically provides controls for adjusting camera settings, such as brightness and contrast, ensuring optimal image quality. You can also initiate recording or capture snapshots remotely, preserving important events as they unfold. The intuitive interface makes controlling your WiFi panorama camera simple and convenient.
Playback and Recording Management
The mobile app serves as your central hub for accessing recorded footage. Typically, recordings are stored either locally on an SD card (if the camera supports it) or in the cloud, depending on your chosen storage option. The app allows you to easily browse through recordings, filtered by date and time, to quickly locate specific events.
Playback controls include standard features like pause, rewind, and fast-forward, enabling detailed review of captured footage. You can also download recordings to your device for offline viewing or sharing. Recording management features often allow you to delete unwanted footage to free up storage space.
Furthermore, the app may offer smart search capabilities, allowing you to search for recordings based on detected motion or other events, streamlining the review process.
Sharing Footage and Alerts
The mobile app facilitates easy sharing of captured footage with family, friends, or authorities. Most apps allow you to directly share video clips via email, messaging apps, or social media platforms. This is particularly useful for documenting incidents or providing evidence.
Alerts, triggered by motion detection, are a crucial feature. The app will send push notifications to your smartphone when activity is detected, keeping you informed in real-time. You can customize alert sensitivity to reduce false alarms.
Sharing access to the camera’s live view and recordings with multiple users is often possible, granting controlled access to authorized individuals. This enhances collaborative security and peace of mind.
Troubleshooting Common Issues
Common problems include WiFi connectivity, app malfunctions, and motion detection failures. Restarting the camera and router often resolves these issues quickly.
Ensure strong WiFi signal and correct login credentials for optimal performance.
Camera Not Connecting to WiFi
If your WiFi panorama camera fails to connect, begin by verifying your WiFi network’s password and ensuring it’s entered correctly within the mobile app during setup. Confirm your router is broadcasting on the 2.4 GHz band, as many cameras don’t support 5 GHz.
Next, try moving the camera closer to the router to rule out signal strength issues. A weak signal can prevent a stable connection. Reboot both your camera and your WiFi router – a simple restart often resolves temporary glitches.
Double-check that your router’s firewall isn’t blocking the camera’s access. Consult your router’s manual for instructions on managing firewall settings. Finally, ensure the camera isn’t already connected to another WiFi network.
App Connectivity Problems
Experiencing issues with the mobile app connecting to your WiFi panorama camera? First, ensure you have the latest version of the app installed from your device’s app store. Outdated apps can contain bugs that cause connectivity problems. Close the app completely and reopen it – this refreshes the connection.
Verify your smartphone or tablet has a stable internet connection, either through WiFi or mobile data. Check app permissions to ensure it has access to necessary features like location and network access.
If problems persist, try clearing the app’s cache and data (settings vary by device). As a last resort, uninstall and reinstall the app, but remember your account credentials!
Motion Detection Not Working
If your WiFi panorama camera isn’t detecting motion, begin by verifying the motion detection feature is enabled within the app’s settings. Ensure the sensitivity level is appropriately adjusted; too low, and it might miss events, too high, and it triggers false alarms.
Check the designated motion detection zones within the app. Are the areas you want monitored included? Obstructions in the camera’s view, like plants or shadows, can also trigger false positives or block detection.
Confirm the camera’s firmware is up-to-date, as updates often include improvements to motion detection algorithms. Finally, test the system during daylight hours to rule out low-light performance issues.
Advanced Features
Explore enhanced capabilities like pan and tilt functionality, superior night vision, and convenient two-way audio communication for a comprehensive security experience.
Pan and Tilt Functionality
Many WiFi panorama cameras boast impressive pan and tilt capabilities, allowing for remote control of the camera’s viewing angle directly from your mobile app. This feature significantly expands the surveillance area beyond a fixed position, providing a wider field of view and minimizing blind spots.
Users can smoothly rotate the camera horizontally (pan) and vertically (tilt) to monitor different sections of a room or outdoor space. This is particularly useful for tracking movement or investigating alerts triggered by motion detection. The app interface typically includes intuitive controls for precise adjustments, ensuring you can focus on specific areas of interest.
Some models even offer preset positions, enabling you to quickly navigate to frequently monitored locations with a single tap. This functionality enhances responsiveness and simplifies the process of maintaining comprehensive surveillance.
Night Vision Capabilities
A crucial feature of modern WiFi panorama cameras is their night vision functionality, ensuring continuous surveillance even in low-light or complete darkness. These cameras utilize infrared (IR) LEDs to illuminate the surrounding area, capturing clear footage without requiring external lighting.
The IR LEDs are typically invisible to the human eye, preventing unwanted attention or disturbance. The camera automatically switches to night vision mode when ambient light levels decrease, providing seamless transition between day and night monitoring.
The effective range of night vision varies depending on the camera model, but generally extends to several meters. Some cameras offer adjustable IR intensity settings, allowing you to optimize image clarity based on the specific environment. This ensures reliable security coverage around the clock.
Two-Way Audio Communication
Many WiFi panorama cameras incorporate two-way audio communication, enhancing their versatility beyond simple video surveillance. This feature allows you to not only hear what’s happening in the camera’s vicinity but also to speak through the camera’s built-in speaker.
Through the mobile app, you can remotely address anyone within range, deterring potential intruders or communicating with family members. This is particularly useful for checking on pets, interacting with children, or greeting visitors when you’re away from home.
The audio quality varies between models, but generally provides clear and understandable communication. Some cameras offer adjustable volume controls and noise cancellation technology for optimal performance. This feature adds an extra layer of security and convenience.
Maintenance and Care
Regularly clean the camera lens with a soft cloth to maintain optimal image quality. Ensure firmware is updated for peak performance and security.
Cleaning the Camera Lens
Maintaining a clean camera lens is crucial for optimal image and video quality. Dust, fingerprints, and smudges can significantly degrade the clarity of your recordings. To clean the lens effectively, always begin by powering off the camera and disconnecting it from any power source.
Use a soft, lint-free microfiber cloth – the type commonly used for cleaning eyeglasses or camera lenses. Avoid using paper towels, tissues, or abrasive materials, as these can scratch the delicate lens surface. Gently wipe the lens in a circular motion, starting from the center and working your way outwards.
If stubborn smudges persist, slightly dampen the microfiber cloth with a lens cleaning solution specifically designed for camera lenses. Never spray the solution directly onto the lens; instead, apply it to the cloth first. Ensure the cloth is only slightly damp, not wet. After cleaning, allow the lens to air dry completely before powering the camera back on.
Firmware Updates
Regular firmware updates are essential for maintaining the performance, security, and functionality of your WiFi panorama camera. Manufacturers frequently release updates to address software bugs, enhance features, and patch security vulnerabilities.
The mobile app typically provides a notification when a new firmware update is available. Follow the on-screen instructions carefully during the update process. Do not interrupt the update, as this could potentially damage the camera’s software.
Ensure the camera remains connected to a stable WiFi network and has sufficient power throughout the update. The update process may take several minutes to complete. After the update is finished, the camera will usually restart automatically. Checking for updates periodically through the app’s settings menu is recommended.